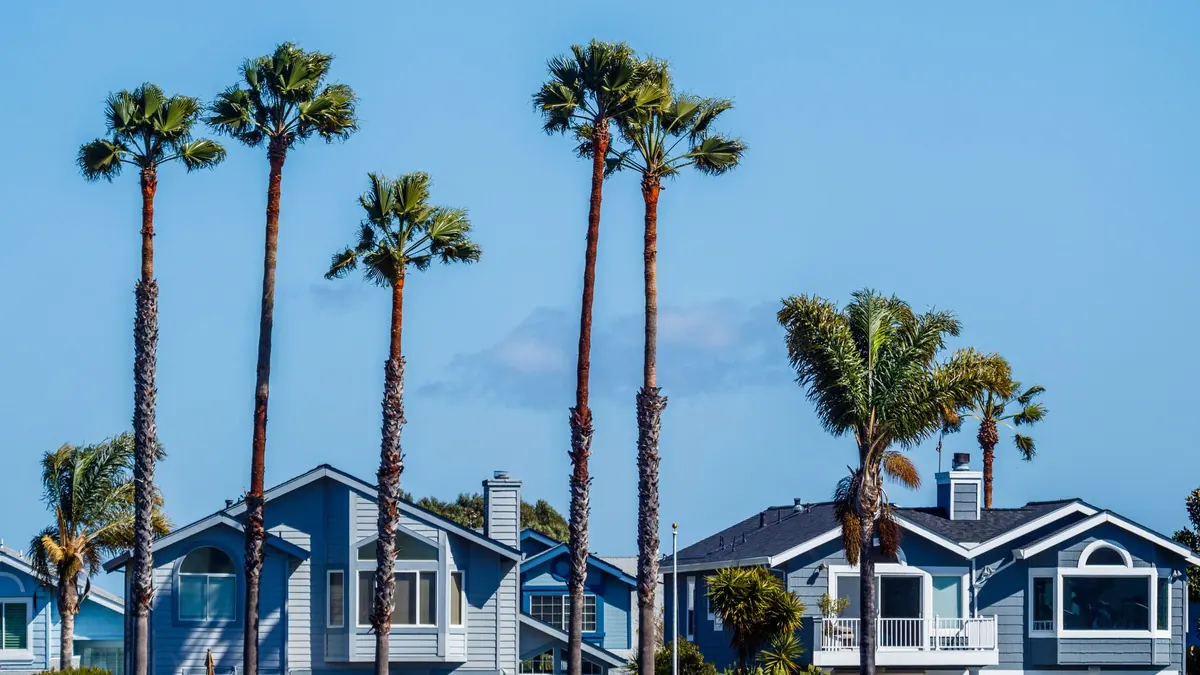
A house two streets from the water lives in a different climate than one five miles inland. Fog rolls in overnight and leaves a fine film on everything. Wind pushes rain sideways under eaves that shed water perfectly well in a calmer setting. Fixtures that look crisp in a showroom can pit, seize, fog over, and quit within two or three seasons. Coastal lighting is less about picking a pretty lantern than about materials, sealing, and placement — and the good news is that the fixtures that survive are usually the ones that look right on a coastal house anyway.
Why the Coast Is So Hard on Fixtures
Salt is the main culprit, but not in the way most people picture it. Dry salt sitting on a surface is fairly harmless. Dissolved in moisture — fog, dew, spray, rain — it becomes an electrolyte that accelerates the corrosion of ordinary steel and eats through thin platings. Wind matters because it carries that salt-laden moisture further inland than you'd expect, and because it drives water into places a fixture was never designed to shed it: upward-facing openings, screw threads, the gap where a glass pane meets its frame.
UV is the quieter problem. Rubber gaskets, plastic lenses, and painted finishes all degrade in strong sun, and coastal sun often comes with more reflective glare off water and pale decks. The two failure modes to design around are corrosion and water intrusion, and almost every buying decision comes back to one of them.
Materials That Actually Hold Up
Start with the metal, because no finish rescues the wrong base material. A few reliable choices:
- Marine-grade 316 stainless steel. The molybdenum content makes it noticeably more resistant to chloride than 304 stainless. If a product says "stainless" without a grade, assume it isn't 316 and treat it as a short-term fixture.
- Powder-coated or anodized aluminum. Aluminum doesn't rust the way steel does, and a good coating or anodized layer protects it from pitting. The catch is that the coating is the protection — once it chips, corrosion starts at the chip.
- Copper and brass. Both weather rather than fail. Unlacquered brass darkens to a brown patina; copper goes from penny-bright to a soft green. Lacquered brass looks unchanged until the lacquer fails, often in patches, which is worth knowing before you buy.
- Composite, resin, and fiberglass housings. No metal to corrode, and they handle wind-driven rain well. Choose ones with metal or high-grade polymer mounting hardware, since that's usually the weak point.
- Teak or ipe accents. Fine for brackets and trim, provided the fasteners holding them are the same grade as everything else nearby.
What to Avoid
Painted mild steel, chrome plating over steel, and zinc die-cast bodies are the usual offenders — they can look excellent for a season and then blister. Watch for mixed metals in one assembly, too. Where a steel screw passes through an aluminum bracket in a wet, salty environment, you get galvanic corrosion, and the aluminum loses. If you can't avoid mixing metals, use isolating washers or a bedding compound at the joint.
Seals, Ratings, and the Details That Fail First
Look at the IP rating on any fixture you're considering. The first digit covers solids, the second covers water: IP44 handles splashing, IP65 is dust-tight and resists water jets, IP66 handles more forceful jets, and IP67 tolerates brief immersion. For exposed coastal spots, IP65 or better is a sensible floor.
Then check the parts a spec sheet won't show you. Silicone gaskets outlast neoprene and rubber in sun and salt. Weep holes — small drain openings at the bottom of a housing — let condensation escape instead of pooling around the socket. Downward-facing sockets keep water off the lamp. And if the LED driver sits inside the fixture, ask whether that compartment is potted or sealed; drivers are often the first component to fail, and a remote driver mounted in a dry interior space is worth the extra wiring.
Placement: Where to Mount, Where to Skip
Placement solves problems that materials alone can't. A porch light under a deep eave, sheltered from prevailing wind, will outlast the same fixture on an exposed corner post by years — so put your best fixtures where they're most protected, and accept that the most exposed spots may need replacing sooner.
A few placement rules that pay off:
- Keep open, upward-facing fixtures away from the surf side of the house. Uplights that collect salt spray and rainwater are a maintenance project, not a fixture.
- Mount wall lanterns high enough to stay out of the splash zone from decks, hose bibs, and roof runoff, but low enough that the light lands where people walk rather than out into the dark.
- Set path lights back from the walkway edge — twelve to eighteen inches is usually enough — so sprinklers and runoff don't soak them.
- Angle step and deck lights downward. Shielded, low-glare light reads as more expensive and helps keep night skies dark.
On color temperature, try to stay in the 2200K to 2700K range outdoors. Cool white light on a coastal property looks sterile against weathered wood and stone, and warm light scatters less in fog.
Wind Loads and Mounting
Sustained coastal wind works screws loose. Fasten to solid framing rather than to siding or a fascia board alone, and use through-bolts or lag screws rather than the short screws often packed with a fixture. If you're hanging anything — a pendant on a porch, a string of lights — expect it to sway, and choose a rigid stem mount instead of a cable where the wind is constant. Anything electrical and outdoors should be on a GFCI-protected circuit with sealed junction boxes; if you're not experienced with wiring, have a licensed electrician handle the connections and the box.
A Maintenance Routine That Takes an Afternoon
Coastal fixtures don't need much, but they do need it regularly.
- Rinse housings and glass with fresh water every few months, more often on the exposed side of the house. A plain hose rinse removes the salt film before it does damage.
- Dry, then apply a thin coat of paste wax or a purpose-made protective spray to metal housings. Wax is easier to renew than a finish is to repair.
- Put a dab of silicone grease on screw threads and socket rims so hardware doesn't seize.
- Check gaskets each spring. A hardened, cracked gasket is the beginning of every water-intrusion problem.
- Touch up paint chips on coated aluminum immediately with matching touch-up paint.
- Replace bulbs and clean lenses at the same time, so you're not up the ladder twice.
Start With the Hardest Spots First
Walk your property on a windy, wet day and note where rain actually lands and where spray reaches. Those spots get the 316 stainless, the sealed housings, and the simplest shapes with the fewest places for water to sit. The sheltered spots can carry the more decorative fixtures, and they'll last because they're doing an easier job. Buy fewer fixtures of better material rather than a full set of cheap ones, and let the coast do the rest of the editing.
Photo: Robert So / Pexels